Adding an audio system to your sauna can transform your relaxation experience. However, saunas bring challenges like high heat and humidity that can damage regular audio equipment. To install a system safely and effectively:
- Choose the right equipment: Use marine-grade speakers with at least an IP65 rating to handle moisture and heat.
- Plan speaker placement: Avoid areas near heaters or steam vents for better durability and sound quality.
- Use proper materials: Moisture-resistant cables, rust-proof hardware, and weatherproof junction boxes are essential.
- Ensure safe wiring: Hire a licensed electrician for GFCI-protected wiring and external amplifier installation.
- Test the setup: Check sound quality across all frequencies and ensure stability under sauna conditions.
Regular cleaning and inspection will keep your system in good shape. Whether you mount speakers on walls or ceilings, prioritize durability and safety for a better sauna experience.
DIY upgrade the speakers and radio in your sauna
Planning Your Audio System Installation
Setting up a sauna audio system requires careful planning to ensure it performs well in the unique and challenging environment of a sauna. This means selecting the right equipment, deciding on the best placement for speakers, and gathering the proper tools and materials.
Selecting the Right Audio System
Standard speakers aren't built to handle the extreme heat and humidity of a sauna, where temperatures can reach up to 194°F (90°C). Instead, opt for marine-grade speakers designed with heat-resistant materials, rust-proof metals, and durable plastics. Look for a minimum IP65 rating to ensure they can handle moisture. Pay attention to wattage and sensitivity to match your sound preferences, and consider wireless connectivity for a cleaner, hassle-free setup.
Finding the Best Speaker Locations
Once you've chosen the right speakers, think about where to place them for the best sound experience. Aim for even sound coverage throughout the sauna, but avoid installing speakers near heaters or steam vents. These areas expose equipment to intense heat and moisture, which can shorten their lifespan.
Gathering Tools and Materials
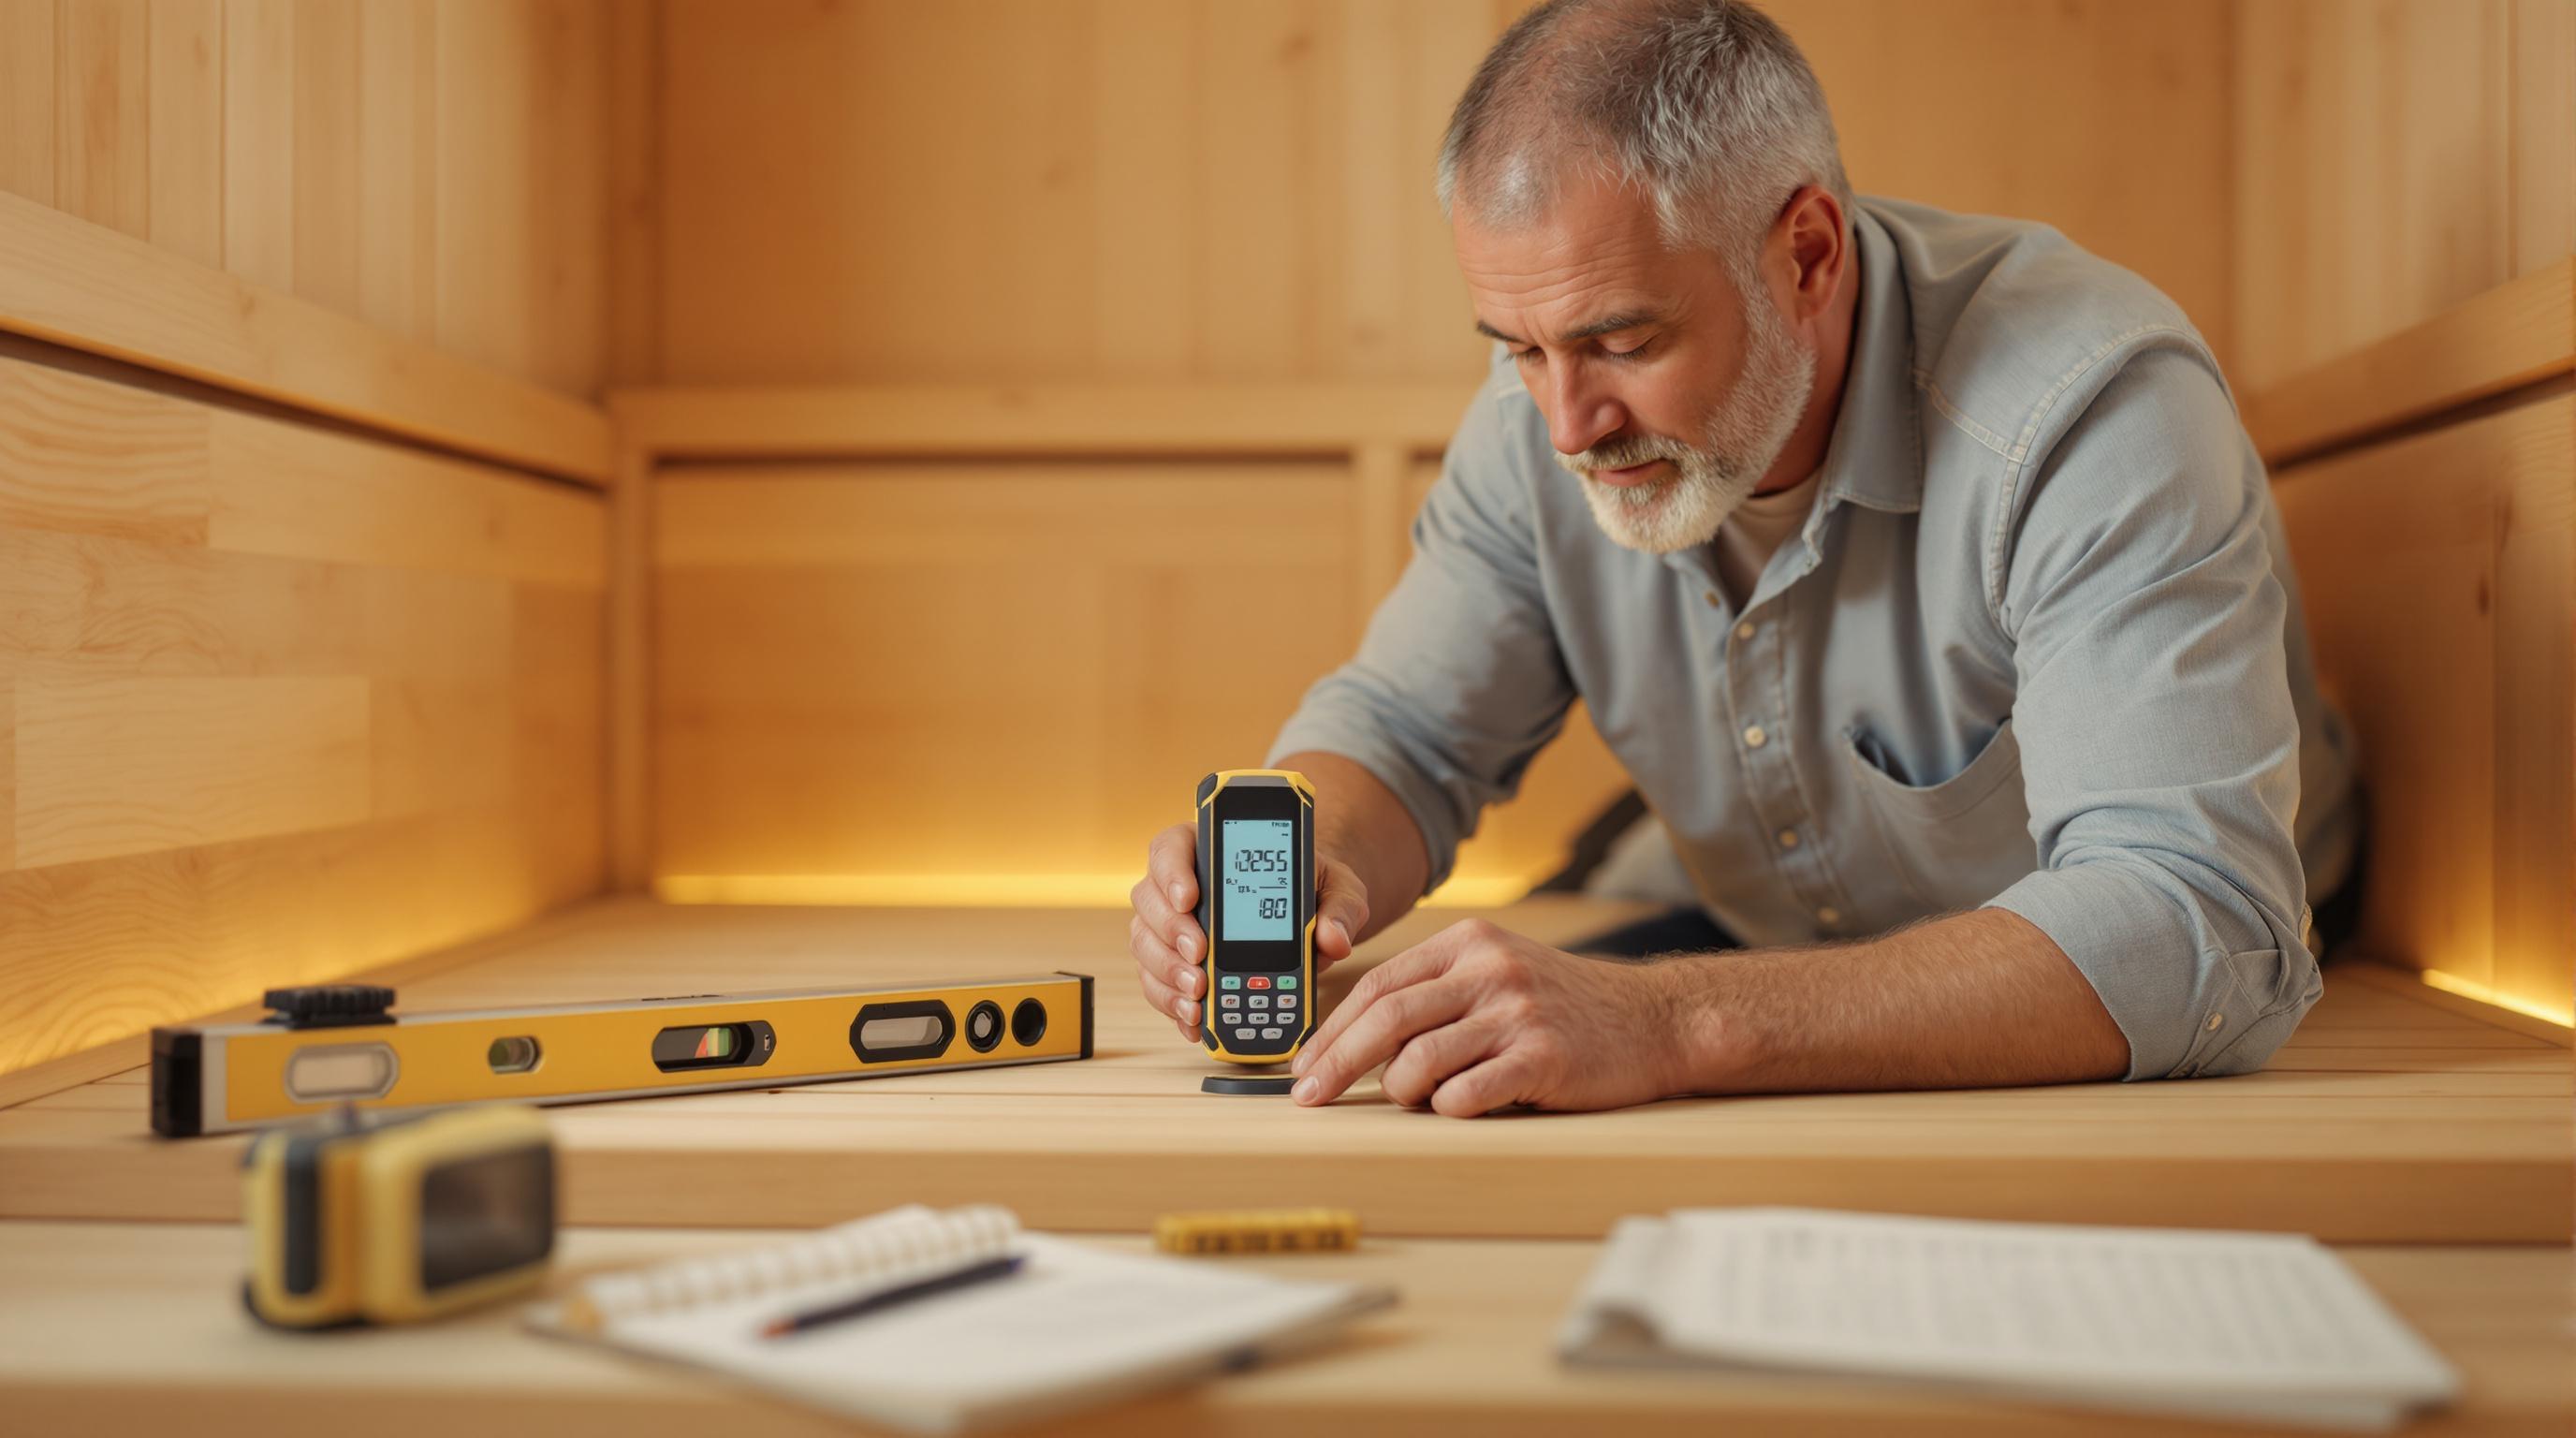
After selecting your speakers, gather the necessary materials for installation. Use moisture-resistant cables or marine-grade speaker wires to handle the sauna's conditions. You'll also need rust-resistant mounting hardware, weatherproof junction boxes, and conduit to protect the wiring. Tools like a drill, wire strippers, a level, and a multimeter will help make the installation process smoother and more precise.
Installation Instructions
Start by wiring, mounting, and testing your audio system. Pay special attention to moisture resistance and safety for every connection.
Setting Up Wiring and Electrical Connections
Make sure all wiring and connections are moisture-resistant, as highlighted during the planning stage. Run speaker cables from the sauna to an external amplifier, which should always be located in a cool, dry area to prevent heat damage. Wire the components in series rather than parallel. This helps balance impedance and reduces the load on the amplifier.
When connecting speakers and the subwoofer, use the designated ports - for example, a Gallo Acoustics subwoofer connects to the bridge port, while other speakers use standard outputs. If you're adding a passive attenuator for volume control, connect it in series between the subwoofer and amplifier. This setup can be bypassed later if volume control isn't required. Ensure all connections are tight and secure to avoid sound issues or safety risks in the sauna’s humid environment.
Mounting Your Speakers
Position the speakers on the floor to shield them from rising heat and moisture while ensuring even sound distribution. Use the right mounting hardware, and keep the speakers away from the heater and steam vents identified during planning. For in-sauna attenuator controls, wrap the electrical box with foil tape and cover it with a moisture-tight seal. Double-check that all mounting points are firmly secured to prevent shifting, as heat and regular use can loosen connections over time.
Connecting and Testing Your System
Once installation is complete, connect and test the system. Power on the amplifier and adjust the volume using the attenuator knob if one is installed. If the amplifier supports Bluetooth, use it to fine-tune sound levels.
Test all frequency ranges - Sub (20 Hz–60 Hz), Lows (60 Hz–250 Hz), Mids (500 Hz–2 kHz), and Highs (4 kHz–20 kHz) - to check for distortions. Watch for unwanted tones like rumble (deep resonance), mud (low-end blurriness), honk (abrasive mids), edge (harsh guitar tones), or pierce (sharp highs).
Adjust the volume to achieve a balanced bass response, noticeable even from an adjacent room. Run a 30-minute test to ensure the system remains stable under sauna conditions.
sbb-itb-3953eb0
Safety and Maintenance
Keeping your sauna audio system in top shape is all about regular care and attention. This ensures not only great performance but also safety in the sauna's challenging environment.
Safe Operation Guidelines
Safety should always be your top priority when using audio systems in a sauna. Only use components specifically designed and approved for sauna environments. Regular household speakers and amplifiers simply can’t handle the extreme heat and humidity.
When it comes to wiring, grounding, and GFCI protection, leave it to a licensed electrician. This isn’t a project to tackle on your own. The combination of electricity, heat, and moisture is risky and requires professional expertise.
"All installations must be periodically inspected and approved for sauna use." - Riskstop
Make sure your equipment is rated for sauna temperatures, and inspect it regularly. Look for any signs of wear, damage, or moisture infiltration to catch potential issues early.
"Electrical equipment shall be examined periodically by a competent engineer and serviced per manufacturer instructions." - Riskstop
Cleaning and Care Instructions
A little upkeep goes a long way. To maintain reliability, clean your system regularly. Use a dry, soft cloth to wipe down speaker covers and control panels - avoid introducing moisture to any electrical parts. For speaker grilles, a soft brush or compressed air works well to clear away dust that could trap moisture.
After cleaning, think about your mounting choices. Proper placement can help shield your system from the sauna’s harsh conditions.
Ceiling vs. Wall Speaker Comparison
Where you mount your speakers can make a big difference in performance and durability. Here’s a quick comparison to help you decide:
| Feature | Ceiling Speakers | Wall-Mounted Speakers |
|---|---|---|
| Sound Quality | Even sound distribution throughout the sauna | Directional sound; placement matters |
| Flexibility | Fixed installation in the ceiling | Easier to reposition as needed |
| Durability | Better shielded from heat and steam | More exposed to wear and heat, depending on placement |
| Heat Exposure | Less direct exposure to rising heat | May face more direct heat from the sauna heater |
| Access | Harder to reach for cleaning and checks | Easier to clean and inspect |
| Installation Complexity | Requires ceiling work; more involved | Simpler to install with wall brackets |
Ceiling speakers are great for evenly spreading sound and staying out of harm’s way from rising heat and steam. However, they’re harder to maintain and require more effort to install.
Wall-mounted speakers, on the other hand, are easier to access for cleaning and simpler to install. Just be mindful of their placement to avoid direct heat from the sauna heater. They’re also slightly more prone to accidental bumps.
Regardless of your choice, always ensure the system is built to handle the sauna’s high heat, humidity, and steam.
Final Thoughts
Adding an audio system to your sauna can take your relaxation experience to the next level. But achieving that perfect setup requires thoughtful planning, professional installation, and regular upkeep. The unique challenges of heat, humidity, and electrical wiring in a sauna mean attention to detail is essential.
Start by choosing components specifically designed for sauna use, carefully plan where your speakers will go for the best sound quality, and always rely on licensed electricians for any wiring work. Saunas are no place for shortcuts when it comes to safety. Keeping your system in good condition is just as important - clean the components regularly, inspect for any signs of wear, and ensure proper ventilation. Whether you go for ceiling-mounted or wall-mounted speakers, a little maintenance can save you from bigger issues down the line.
With the right setup and care, you can enjoy incredible sound that enhances the calming and rejuvenating effects of your sauna. If you’re still in the market for a sauna, check out Find the Home Sauna of Your Dreams. They offer a wide range of infrared, steam, and traditional saunas priced between $1,000 and $10,000. With detailed product descriptions and helpful filters, you’ll find the perfect match to pair with your new audio system, creating the ultimate relaxation space.
FAQs
Why should I use marine-grade speakers for my sauna audio system?
Marine-grade speakers are built to handle tough conditions, which makes them a great choice for saunas. These speakers are designed to resist water, heat, humidity, UV rays, and even salt, ensuring they can endure the challenging environment of a sauna. With marine-grade speakers, you can enjoy excellent sound quality without stressing about damage or a drop in performance caused by the intense heat and moisture.
How do I safely install and use an audio system in my home sauna?
To safely install and use an audio system in your home sauna, start by choosing specialized speakers built to handle high heat and humidity. Place these speakers away from direct heat sources and position them lower in the sauna to reduce exposure to extreme temperatures.
When it comes to wiring, opt for heat- and UV-resistant cables that can withstand temperature changes. It’s a smart move to bring in a licensed electrician for the installation. They’ll ensure everything meets safety standards and, if needed, set up dedicated circuits for the system.
Once your system is up and running, make sure to keep the audio components clean and dry. Avoid exposing them to extreme conditions, and regularly check for signs of wear or damage to keep things running smoothly and safely.
What’s the difference between ceiling-mounted and wall-mounted speakers for sauna audio systems?
Ceiling-mounted speakers are seamlessly integrated into the ceiling, offering a clean, minimalist appearance while delivering evenly distributed sound throughout the sauna. They’re specifically designed to withstand the high heat and humidity of sauna environments, making them a reliable option for this setting.
Wall-mounted speakers, by contrast, are installed on the walls, providing greater flexibility in directing sound. They’re easier to reach for adjustments or maintenance, which can be a practical advantage if ceiling installation isn’t feasible in your sauna setup.
Each option has its own strengths: ceiling-mounted speakers deliver a more immersive, built-in audio experience, while wall-mounted speakers allow for adjustable and focused sound control. The right choice ultimately depends on your sauna’s layout and your personal preferences.


